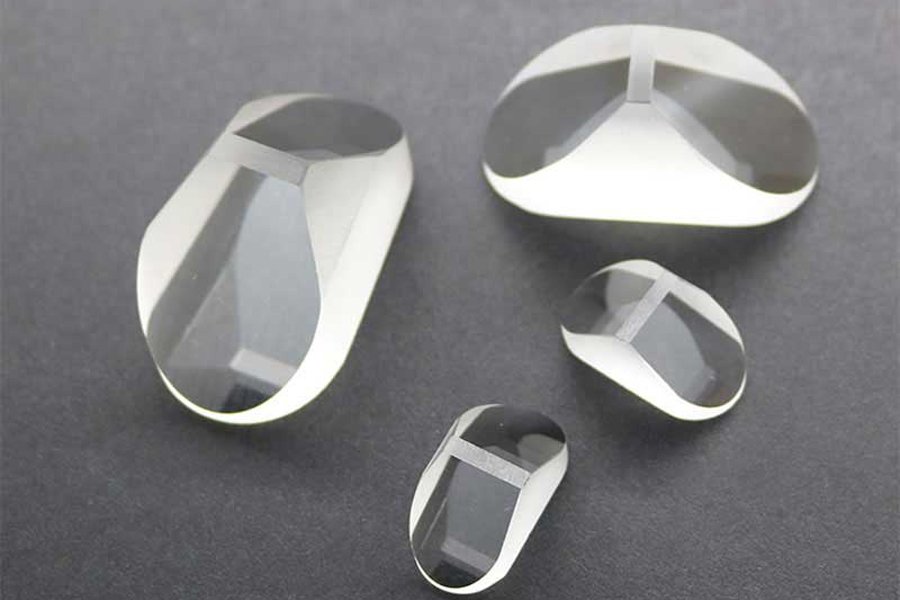
Surface Quality
The quality of the optical surface is used to measure the surface characteristics of the optical product, and it covers some flaws such as scratches and pits. Most of these surface flaws are purely surface flaws and will not have a great impact on system performance, although they may cause a slight decrease in the amount of system light, and cause a more subtle scattering of scattered light. However, some surfaces are more sensitive to these effects, such as: (1) the surface of the image plane, because these flaws produce focusing, and (2) the surface with high power levels, because these flaws increase energy absorption and destroy optical products . Surface quality *Commonly used specifications are the scratch and pit specifications described by MIL-PRF-13830B. The scratch name is determined by comparing the scratches on the surface with a series of standard scratches provided under controlled lighting conditions. Therefore, the scratch name does not describe the actual scratch, but compares it with the standard scratch according to the MIL specification. However, the names of the pits are directly related to the points or small pits on the surface. The name of the pit is calculated by dividing the diameter of the pit in micrometers by 10. Generally, the size of the scratch pit is between 80 and 50 will be regarded as the standard quality, between 60 and 40 is the accurate quality, and 20 Between 10 and 10 will be regarded as high-precision quality.
Surface flatness
p>Surface flatness is a specification type for measuring surface accuracy. It is used to measure the deviation of planes such as mirrors, windows, prisms or flat mirrors. You can use an optical flat crystal to measure this deviation, which is a high-quality, high-precision reference plane for comparing the smoothness of samples. When the surface of the tested optical product is placed against the optical flat crystal, stripes will appear, and its shape represents the surface smoothness of the tested optical product. If these fringes are equally spaced and are parallel straight lines, then the optical surface to be inspected is at least as flat as the reference optical flat crystal. If the fringe is curved, the number of fringes between two dashed lines (one dashed line is tangent to the midpoint of the fringe and the other dashed line crosses the end point of the same fringe) will indicate a smoothness error. The deviation of smoothness is usually measured by the ripple value (λ), which is composed of multiple wavelength test sources. One fringe corresponds to ½ wavelength. A smoothness of 1λ indicates a general quality level; a smoothness of λ/4 indicates an accurate quality level; a smoothness of λ/20 indicates a high-precision quality level.
Aperture number
The number of apertures is a type of specification for measuring the accuracy of the surface. It is suitable for curved optical surfaces or surfaces with power. The aperture test is similar to the flatness test, which compares the curved surface with a reference surface with a highly calibrated radius of curvature. Using the same interference principle produced by the gap between these two surfaces, the fringe interference pattern is used to describe the deviation between the test surface and the reference surface. The deviation from the reference part will produce a series of rings, called Newton’s rings. The more rings appear, the greater the deviation. The number of dark or bright rings, not the total number of both dark and bright rings, is equal to twice the wavelength error.
Irregularity
Irregularity is a type of specification that measures the accuracy of a surface. It describes the deviation between the shape of the surface and the shape of the reference surface. The measurement method of irregularity is the same as the number of apertures. Regularity refers to the spherical circular stripes formed by comparing the test surface with the reference surface. When the number of apertures on the surface exceeds 5 fringes, it will be difficult to detect small irregular shapes less than 1 fringe. Therefore, the usual practice is to specify the ratio of the surface’s aperture to the irregularity so that it is approximately 5:1.
Surface processing
Surface processing is also called surface roughness, which is used to measure some small irregularities on the surface. They are usually undesirable consequences caused by the polishing process. Rough surfaces tend to be more wear-resistant than smooth surfaces, and may not be suitable for certain applications, especially in applications that use lasers or overheated environments, because of the possibility of minor cracks or flaws at the nucleation site. The production tolerance for surface processing is 50Å RMS for normal quality, 20Å RMS for accurate quality, and 5Å RMS for high quality.

